The engineering design process is a sequence of actions taken by engineers in order to resolve a problem. The actions include, for example, problem-solving activities such as determining your objectives and constraints, prototyping, testing and evaluation.
Although the steps are iterative they are not arbitrary, engineers follow a set series of steps and some of those steps may be retried before completing the step and moving on, a lot will depend on the project, but the design process allows us to learn from our failures and continue to iterate with improvements as necessary.
The engineering design process helps engineers apply science, mathematics and engineering sciences in a way that will apprpriate, and meet the requirement needed to help derive an optimised solution. The steps include, for example, problem-solving activities such as determining your objectives and constraints, prototyping, testing and evaluation.
Engineers do not always work through the steps of the engineering design process in the right order, however, it is very common to define the problem, brainstorm ideas and tests with prototypes, and then implement the necessary changes until the needed outcome is achieved for the engineering project. This is called iteration and is a common way of working.
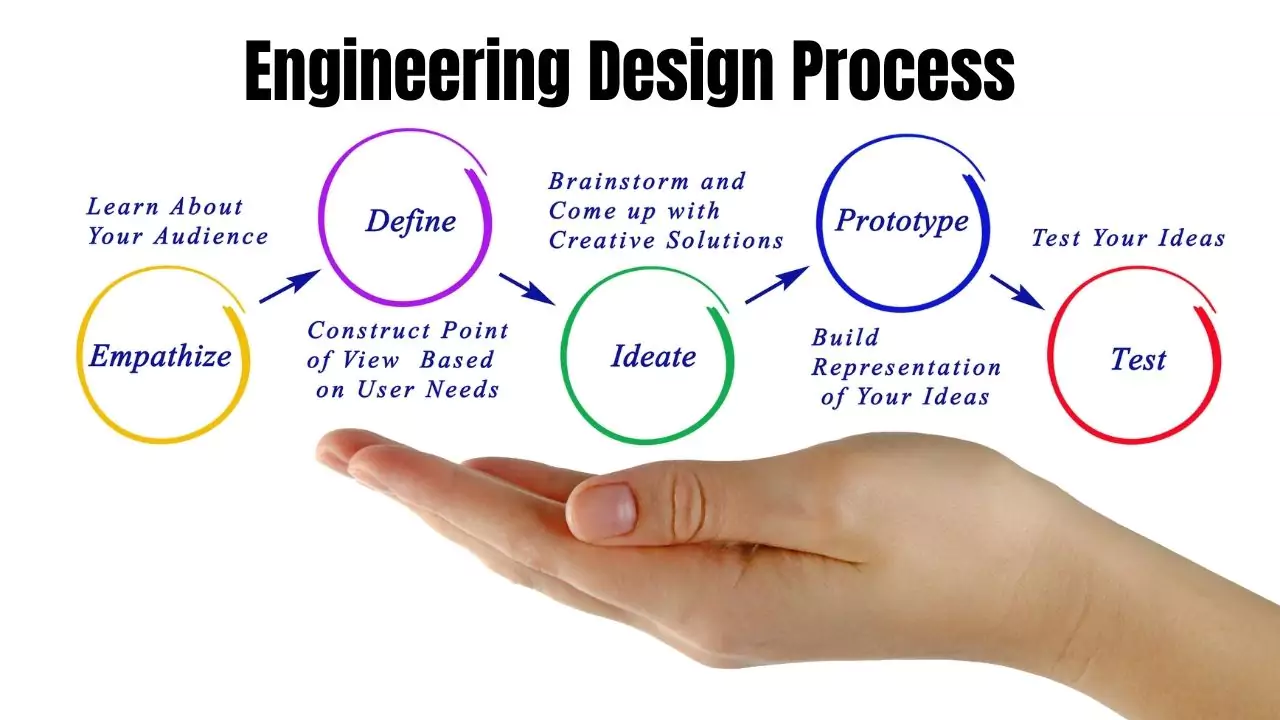
The steps of the engineering design process.
#1. Define The Problem
What is the problem you are trying to solve? Who is the intended audience for your design product? And why must an appropriate solution be found? What are the constraints and requirements? Engineers need to ask these questions when designing and creating.
#2. Brainstorm Possible Solutions
Good designers brainstorm possible solutions before deciding to try and tackle a design. They will create a comprehensive list of as many solutions as possible. Have fun and avoid judging the designs, just flow with the ideas.
#3. Research Ideas / Explore Possibilities for your Engineering Design Project
Take the opportunity to explore possibilities by using the experience of others. These others need to have had similar projects or have some knowledge about the problems you face in order to find workable ideas.
Measuring past projects can often avoid the mistakes faced by others. You should also include people from various disciplines in the discussions, including the intended users or customers. You may also discover ideas and solutions that you had not thought of before.
#4. Establish Criteria and Constraints
Once you have listed a range of possible solutions and have established the needs of the project and your research, the next step is to refine the design and determine any limitations which may constrain what you can do. This can be achieved by going back to the needs of the design product and bring together your research and ideas from the previous steps.
#5. Consider Another Solution
You may want to develop further solutions in order to compare the projects and select the best approach. However, you will need to revert to some of the earlier steps and go through them for each possible idea you feel is workable.
#6. Select An Approach
Once you have evaluated the options you have you will be able to sort through which best meets your needs, and exclude those which do not conform to meet your needs.
#7. Develop A Design Proposal
Now that you have selected your approach you will need to refine and enhance your solution and create a design proposal. This can be an ongoing process throughout your project and even after the product has been provided to customers.
#8. Make A Model Or Prototype
Then you can use your design proposal to create some kind of prototype that will let you test how the final product is intended to work. Prototypes are not usually built from the same materials as the finished product and are usually constructed with a lesser level of finish than the actual version.
#9. Test And Evaluate
Each in every prototype will have to be tested, re-evaluated and enhanced. Testing and evaluation will inform you on the improvements that are needed.
#10. Refine The Design
After the testing has been completed, you will now be in a position to edit and refine your design. This may have been done several times, as you had produced and evaluated several prototypes.
#11. Create The Solution
After your edits and refinements have been completed and tested you can decide to create the finished solution. This may be in the form of a finished prototype, to promote and demonstrate to your customers.
#12. Communicate The Results
And finally communicate your results. This could be in a document, presentation, display board, or a combination of all three. Good documentation will allow your finished product to be made to the specifications required and finished with the quality expected.